Editing your photos is an important step before uploading them to your website
WEBSITE PHOTOGRAPHY TIPS ARTICLE 2 OF 3
In this article we'll cover why it is important to use photography software to edit your photos before uploading them to your website. Beautiful photos help make a beautiful website and it's worth putting the effort in to ensure your website looks beautiful.
Read on for information about:-
1) What kind of editing you can do
2) Free vs paid software
3) Free software
4) Paid software
5) Taking your photos in RAW mode
6) Further reading
1) What kind of editing you can do
Our latest online shop websites allow you to rotate, crop and do basic editing of your photos. However, before you upload your photos to your website we recommend editing them so you can edit the following:-
- Contrast
- Exposure / Lighting
- Colours
- Vibrancy
- Clarity
- Filters
2) Free vs paid software
Simply put, you get what you pay for !!
In our experience, the paid-for software tends to be more powerful and easier to use. The latter, ease of use, shouldn't be under estimated. If you're running a business and have photographs to upload to your website then saving minutes per photograph using easy to use software soon adds up.
We would generally recommend using paid software, like Adobe Photoshop Lightroom, which is detailed below. However for contrast we'll also cover some free software too.
3) Free software
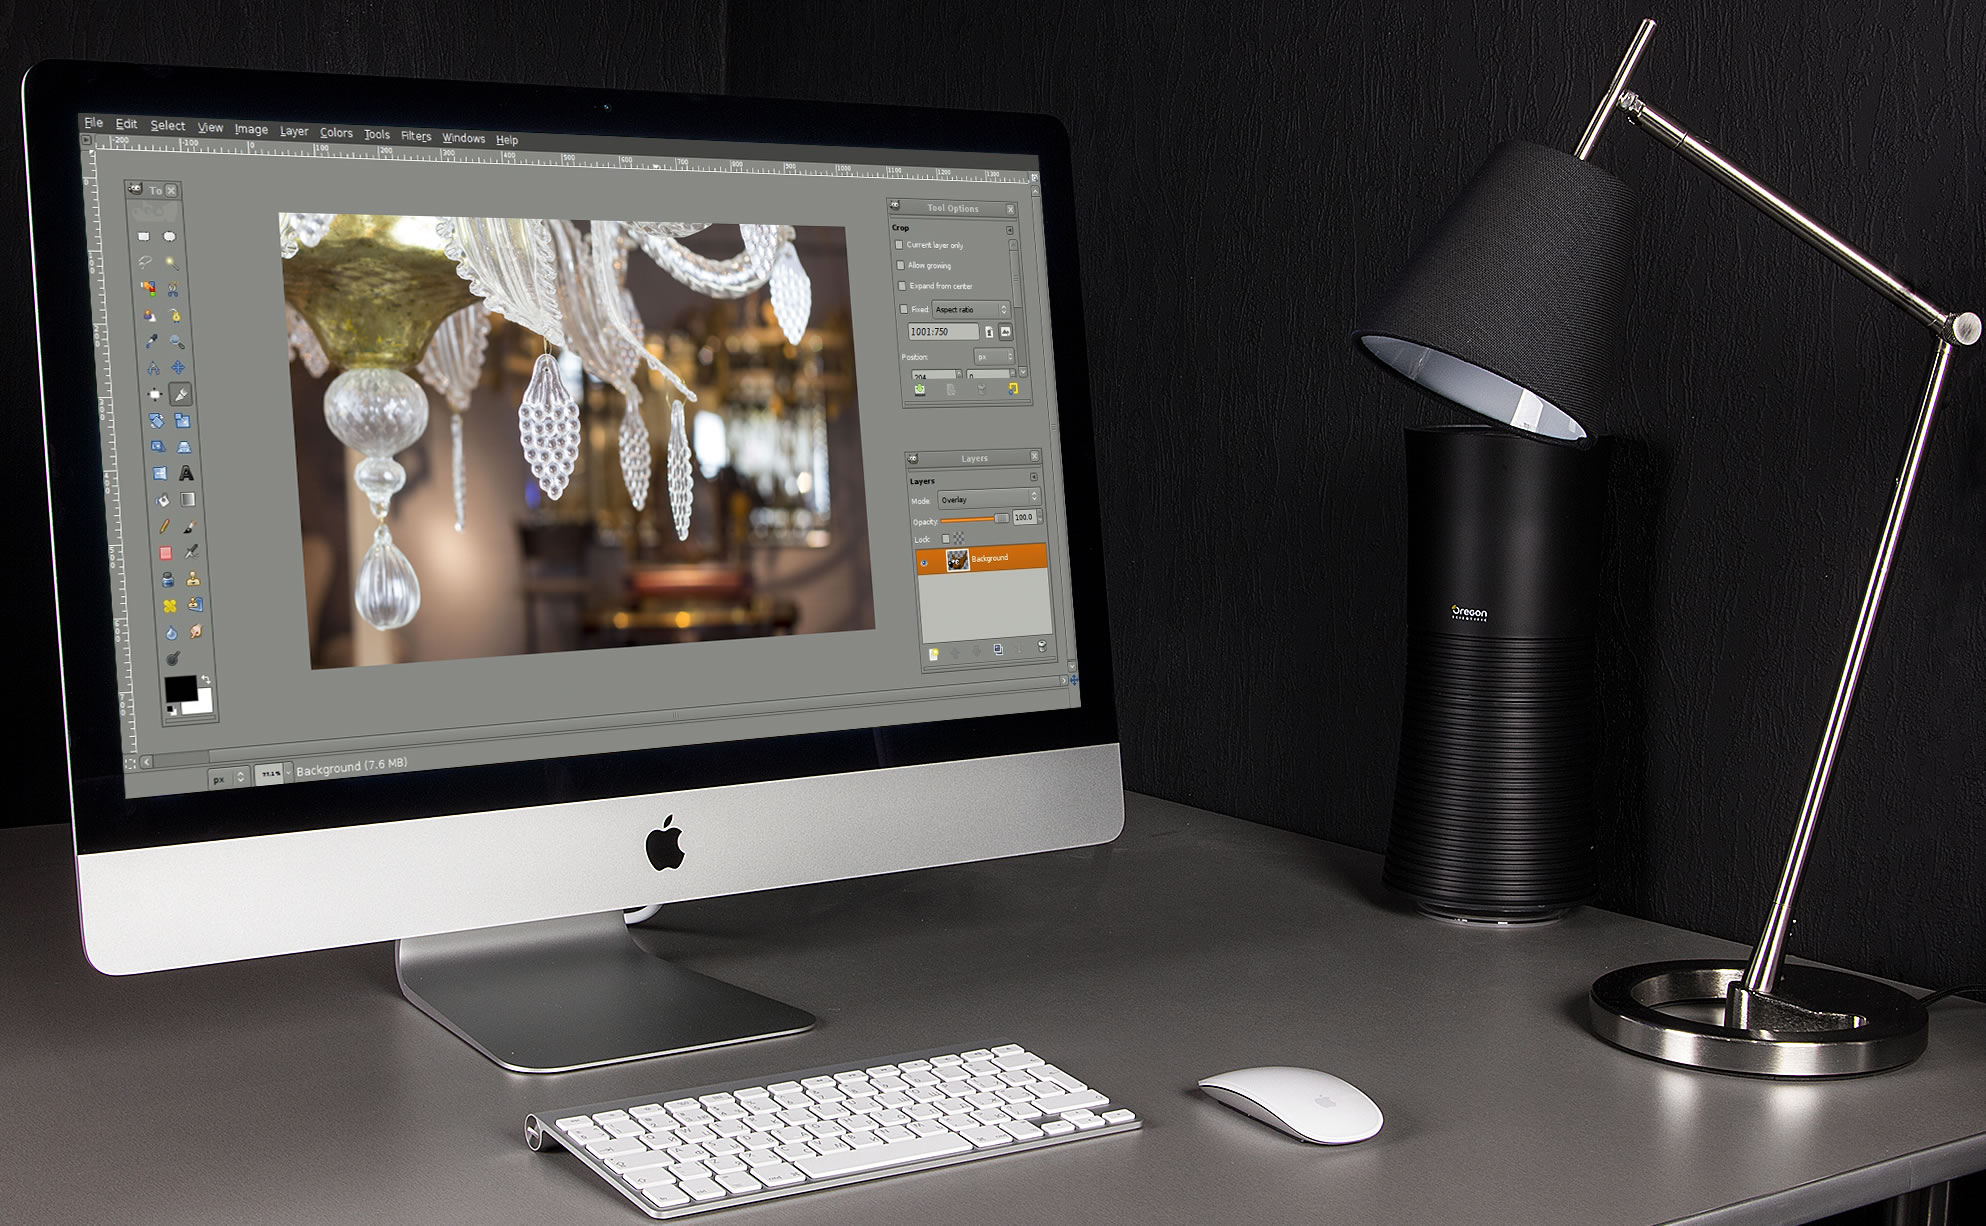
The "Gimp"
Works with: PC (Windows) and Apple Mac
A very powerful photo editing package for the money, eg, nothing. However, as with everything in life, you get what you pay for so for some beginners it's not the easiest to use.
The Gimp can:-
- Crop pictures
- Flip a picture
- Rotate a picture
- Manipulate photos
- Separate an Object From Its Background (advanced)
- Allow you to import/export images to convert from one type to another (eg converting from a PNG to JPG or something like that)
You can download the gimp by visiting http://www.gimp.org/downloads/
Tutorials and guides
The Gimp have tutorials on how to use their software on their website. Please see links below:-
Main instruction manual - http://docs.gimp.org/en/
Enhancing photos - https://docs.gimp.org/2.8/en/gimp-imaging-photos.html
How to crop a picture - http://docs.gimp.org/en/gimp-tutorial-quickie-crop.html
How to flip a picture - http://docs.gimp.org/en/gimp-tutorial-quickie-flip.html
How to rotate a picture - http://docs.gimp.org/en/gimp-tutorial-quickie-rotate.html
Separate an object from its background - http://docs.gimp.org/en/gimp-tutorial-quickie-separate.html
4) Paid software
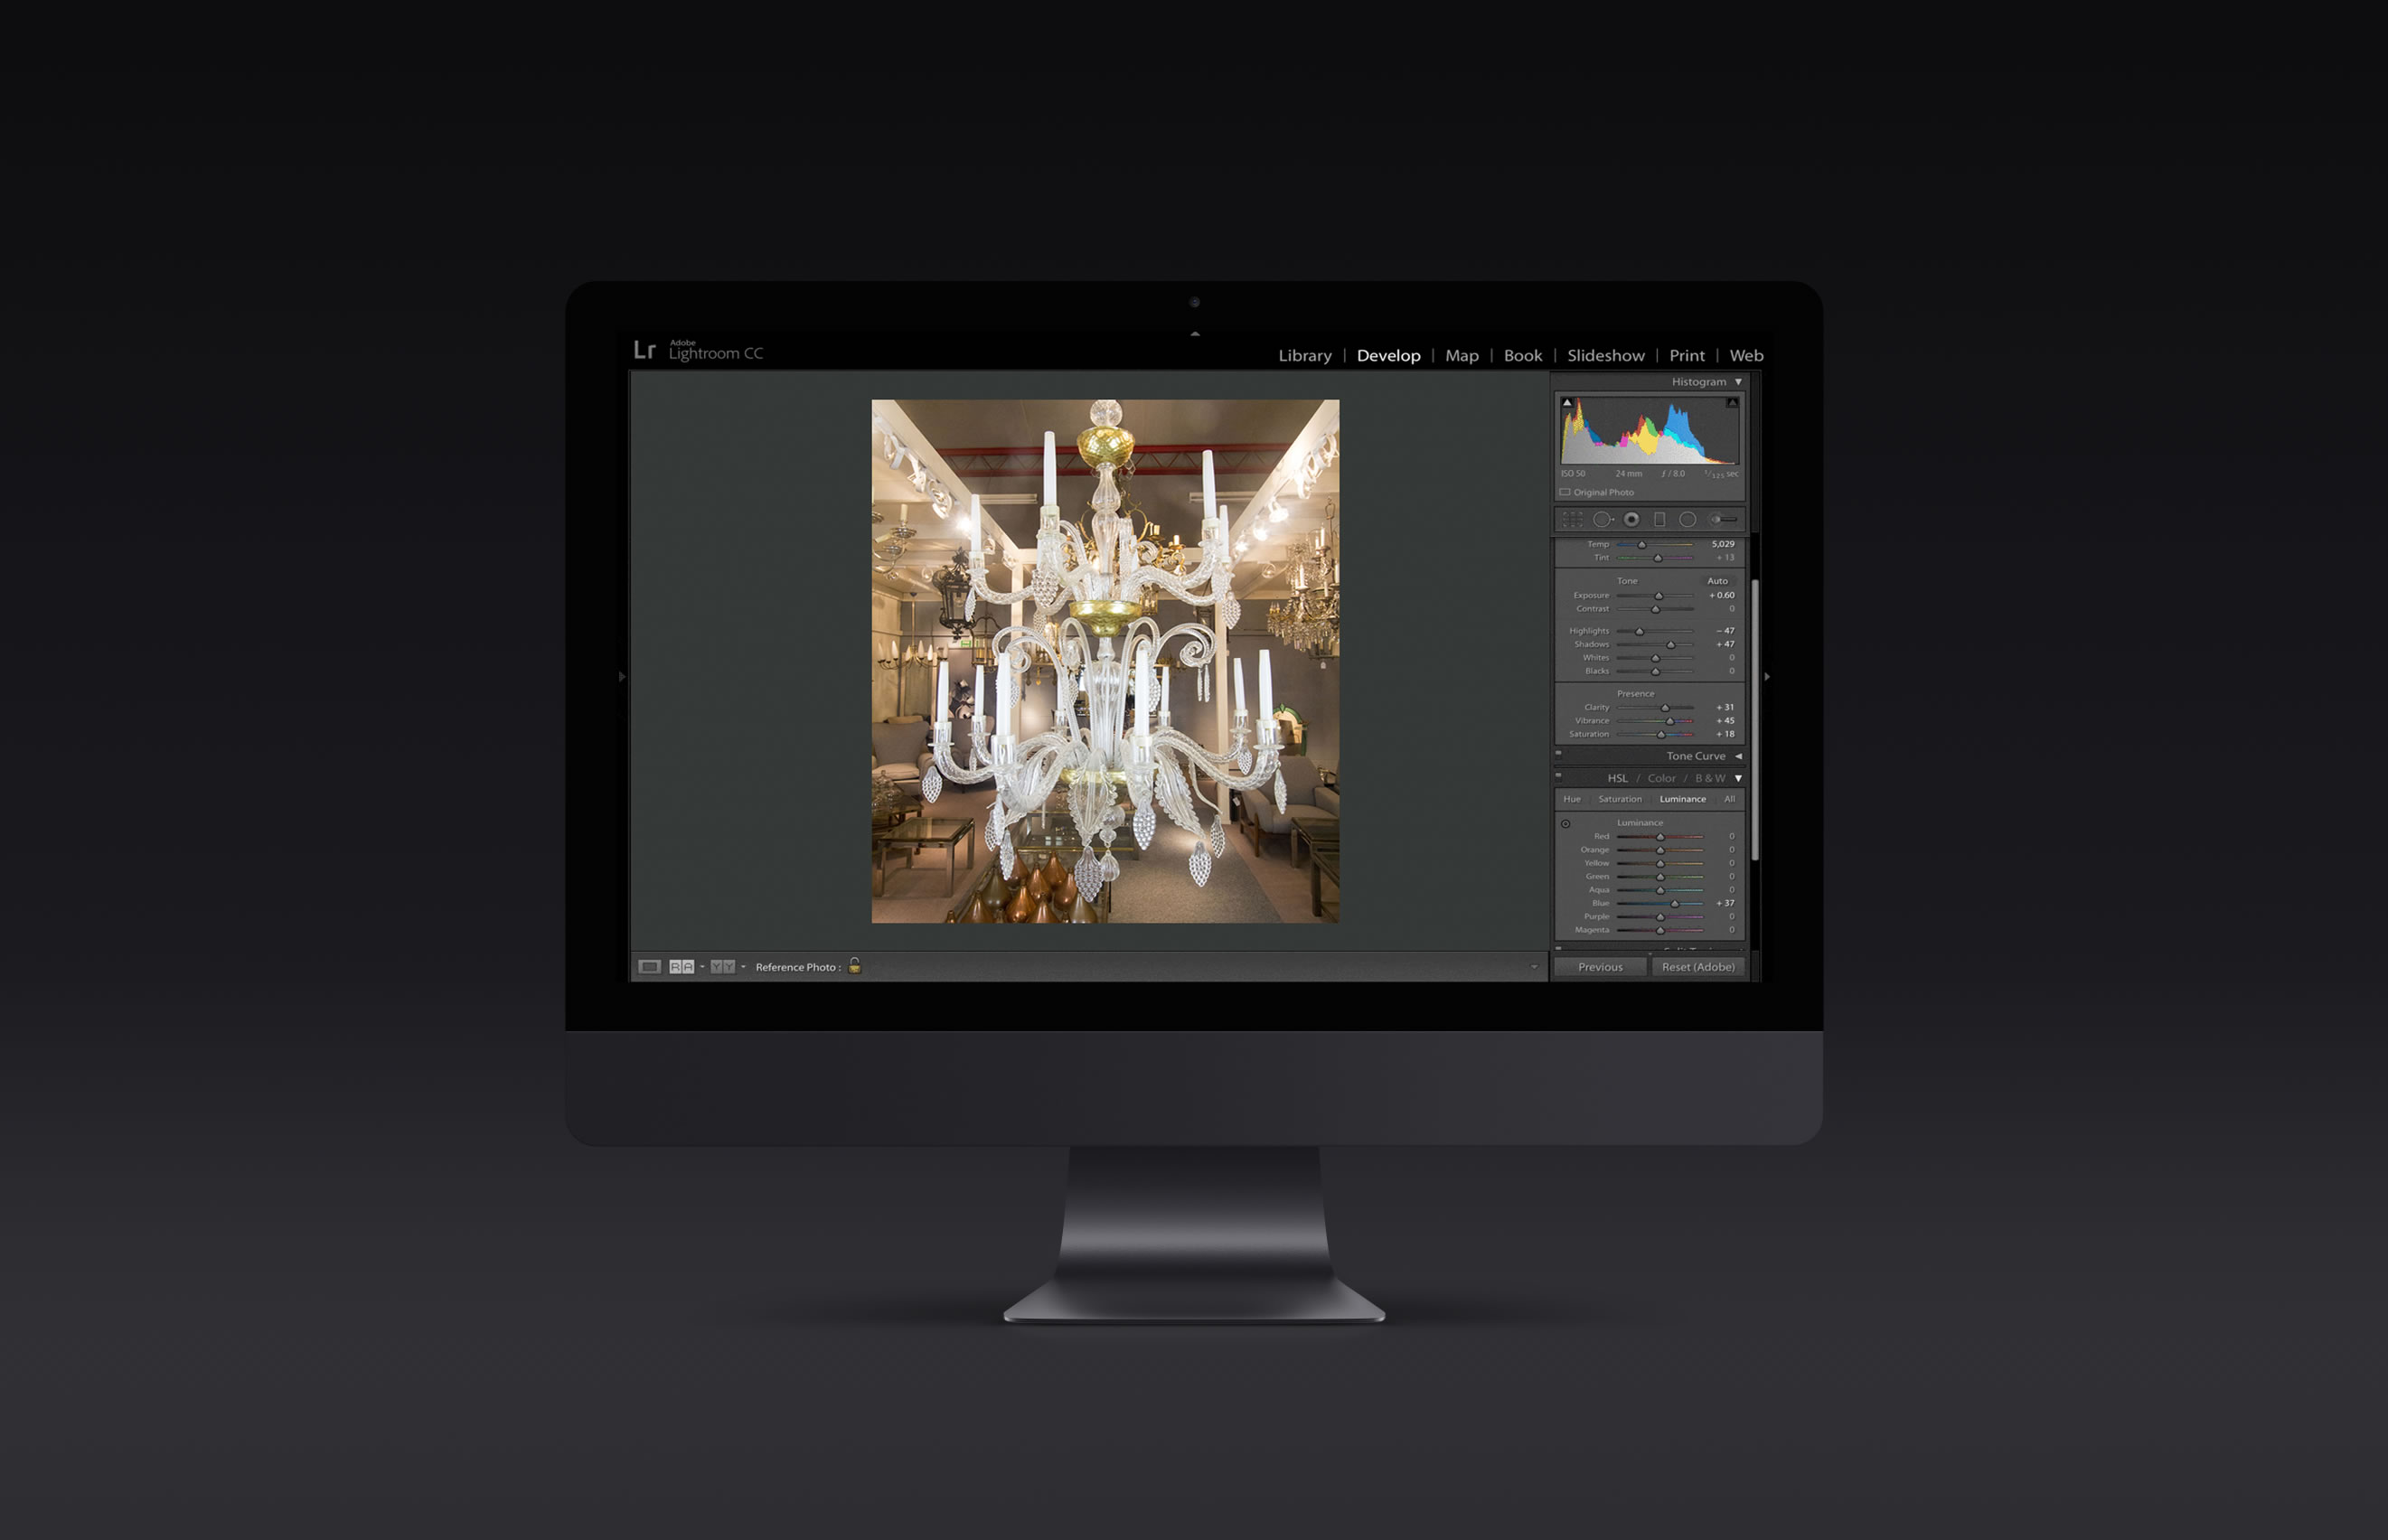
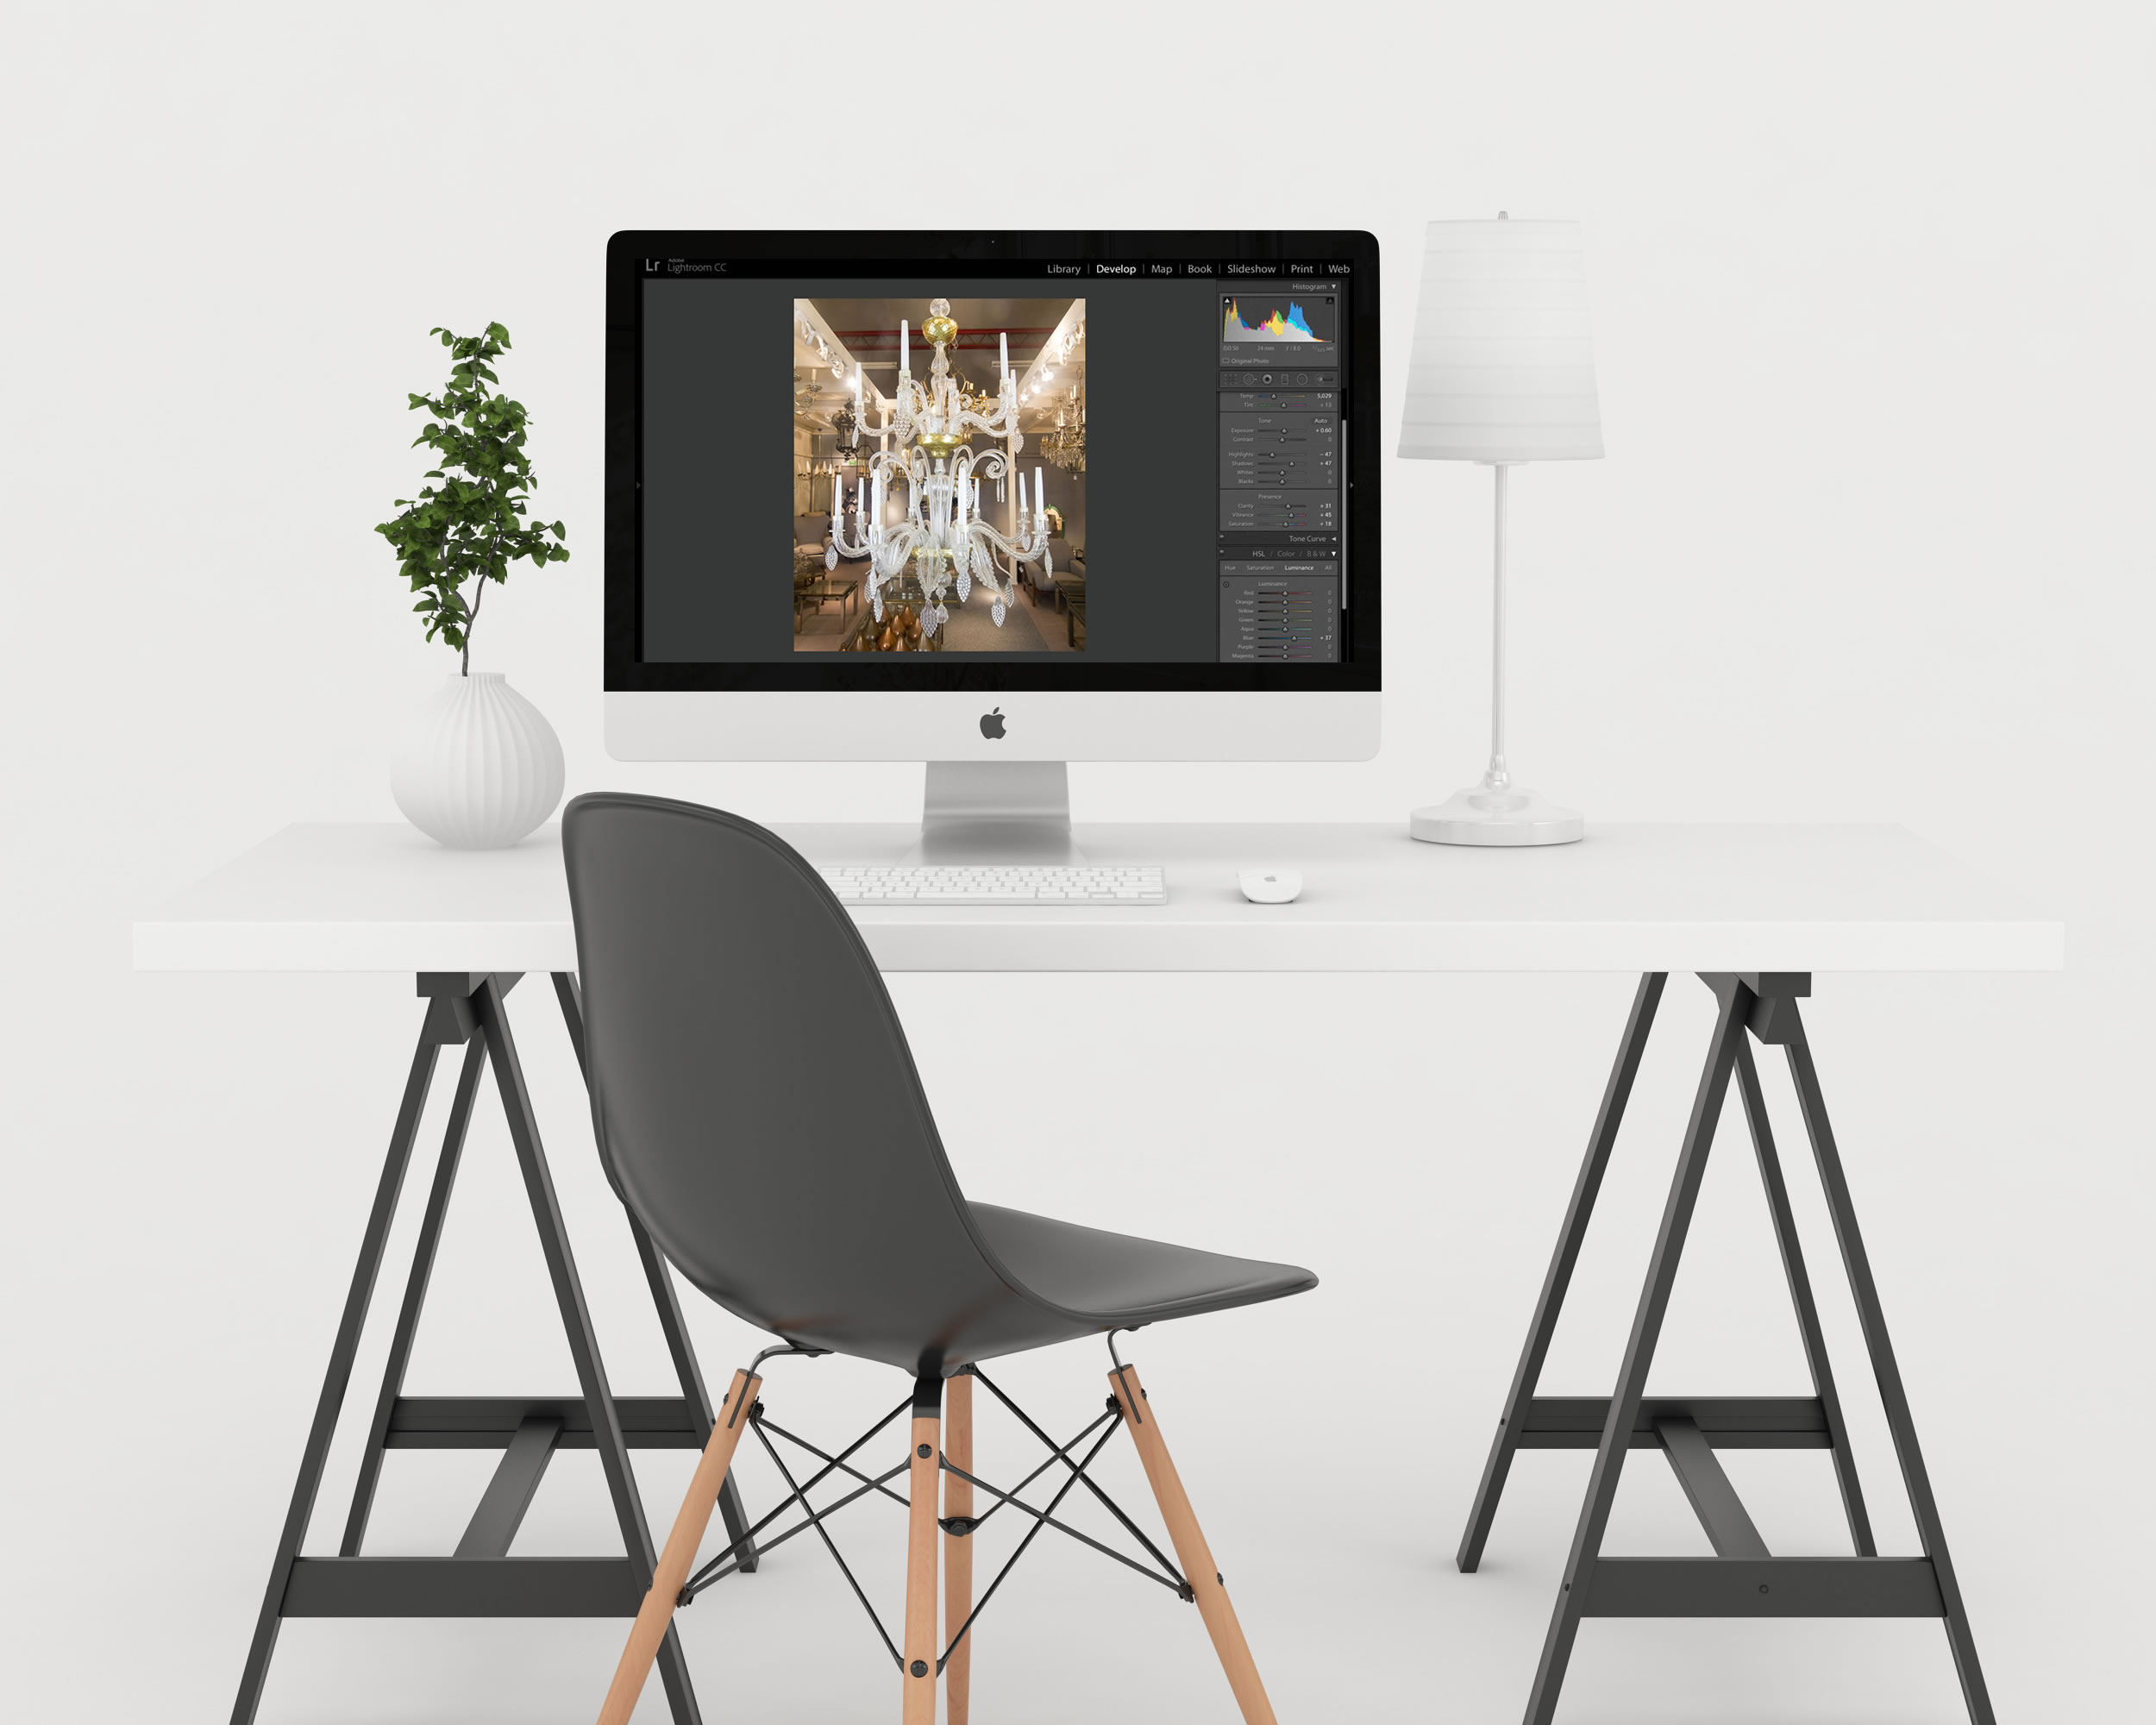
Adobe Photoshop Lightroom
Price:
- Buy directly from Adobe at www.adobe.com
- Buy a copy for £103.88 inc VAT or $149
- Or buy the monthly package for £8.57 per month / $9.99 per month
- The monthly plans appear to be great value as you can upgrade at any time to the latest version. However, be careful, as they are usually 12 month contracts which auto renew and Adobe only give you a small window to opt out of your contract
- Pricing correct at time of writing. Check the Adobe website for more information
Works with: PC (Windows) and Apple Mac
Adobe Photoshop Lightroom isn't free but it's well worth the money if you want to do some advanced photo editing. Adobe Photoshop Lightroom is used by many professional photographers (including some very talented photographers we know), so it should be more than capable of doing what you need to do.
Tutorials and guides
Adobe have tutorials on how to use Lightroom on their website. Just visit:-
https://helpx.adobe.com/lightroom/tutorials.html
5) Taking your photos in RAW mode

To get the most out of Adobe Lightroom (and to some extent The Gimp) you should take your photos in RAW mode.
By default, the majority of DSLR cameras will save the photographs as JPEGs, which is what you would usually upload to your website.
RAW files can't be directly uploaded to your website, but they give you a lot more control of your photos. Basically, if you shoot in RAW then you have more control of your photos once you've uploaded them into Adobe Lightroom than you would do if you took them as a JPEG.
6) Want to improve your photography?
We'll show you how!
New courses for 2018
We'll break down complexity into simplicity and show you how to take great photos of your items! Our courses cover:-
1) How to use aperture on a camera
2) Adjusting shutter speed: the simple way
3) ISO and making the most of light
4) Editing your photos using Adobe Photoshop Lightroom
5) And more!
Contact us to find out more or register your interest.
7) Further reading
Next week we'll cover why you should use good lighting to photograph your items
Follow the blog on our website and our Facebook for more product photography tips, website tips and advice on selling online easily.
If you don't yet have a website, contact us about how we can help you sell online easily.


