We've helped hundreds of antique, art & vintage dealers sell online easily since 2004 and one of the keys to success of selling online is good photography. Many of our dealers now use an iPhone to take their pictures and we have compiled these 8 tips of how to take better photography of your pieces with your iPhone, including a really important overlooked tip.
Credit: DS Decorative Periods. Taken on an iPhone XS Max
1) Overlooked tip... make sure you have enough free space
... or face small, pixelated, low resolution photos!
Our first and probably the most overlooked tip regarding iPhone photography is to make sure your iPhone has free space to prevent your photos from being downgraded to low resolution and only being saved on iCloud.
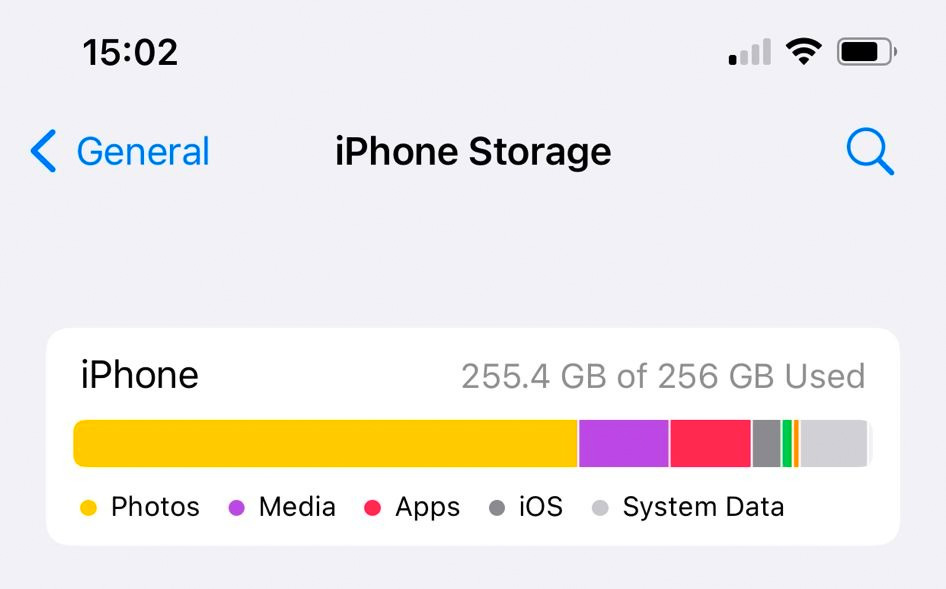
iPhones have a clever feature to make sure that you can continue taking photos even when the storage space on your iPhone is full. What it will do is save the photos on iCloud as to not take up storage space on your phone. The massive caveat with this however is that after the photo has been taken the full size version is not usually the one saved to the cloud; instead your iPhone will shrink it to a low resolution (small) picture meaning that when you view your picture on a larger screen it will look small and pixelated. This is especially a problem when you upload your picture to your website.
For a lot of iPhone users it won't be immediately obvious that this has happened so to see if this is a problem for you:-
a) Check how much space you have free on your iPhone
This will depend on what version of the iPhone / IOS you have, but Apple's guide below will show you how to do this:-
https://support.apple.com/en-us/HT201656
b) Always ensure you have AT LEAST 20% free space on your phone before taking photos
This will help make sure you have enough room because if you run out of space and take photos and your iPhone resizes them to low quality, then it's usually impossible to get them back to high quality again and you'll have to re-take your photos!
Credit: Appley Hoare Antiques (taken on iPhone 8 plus)
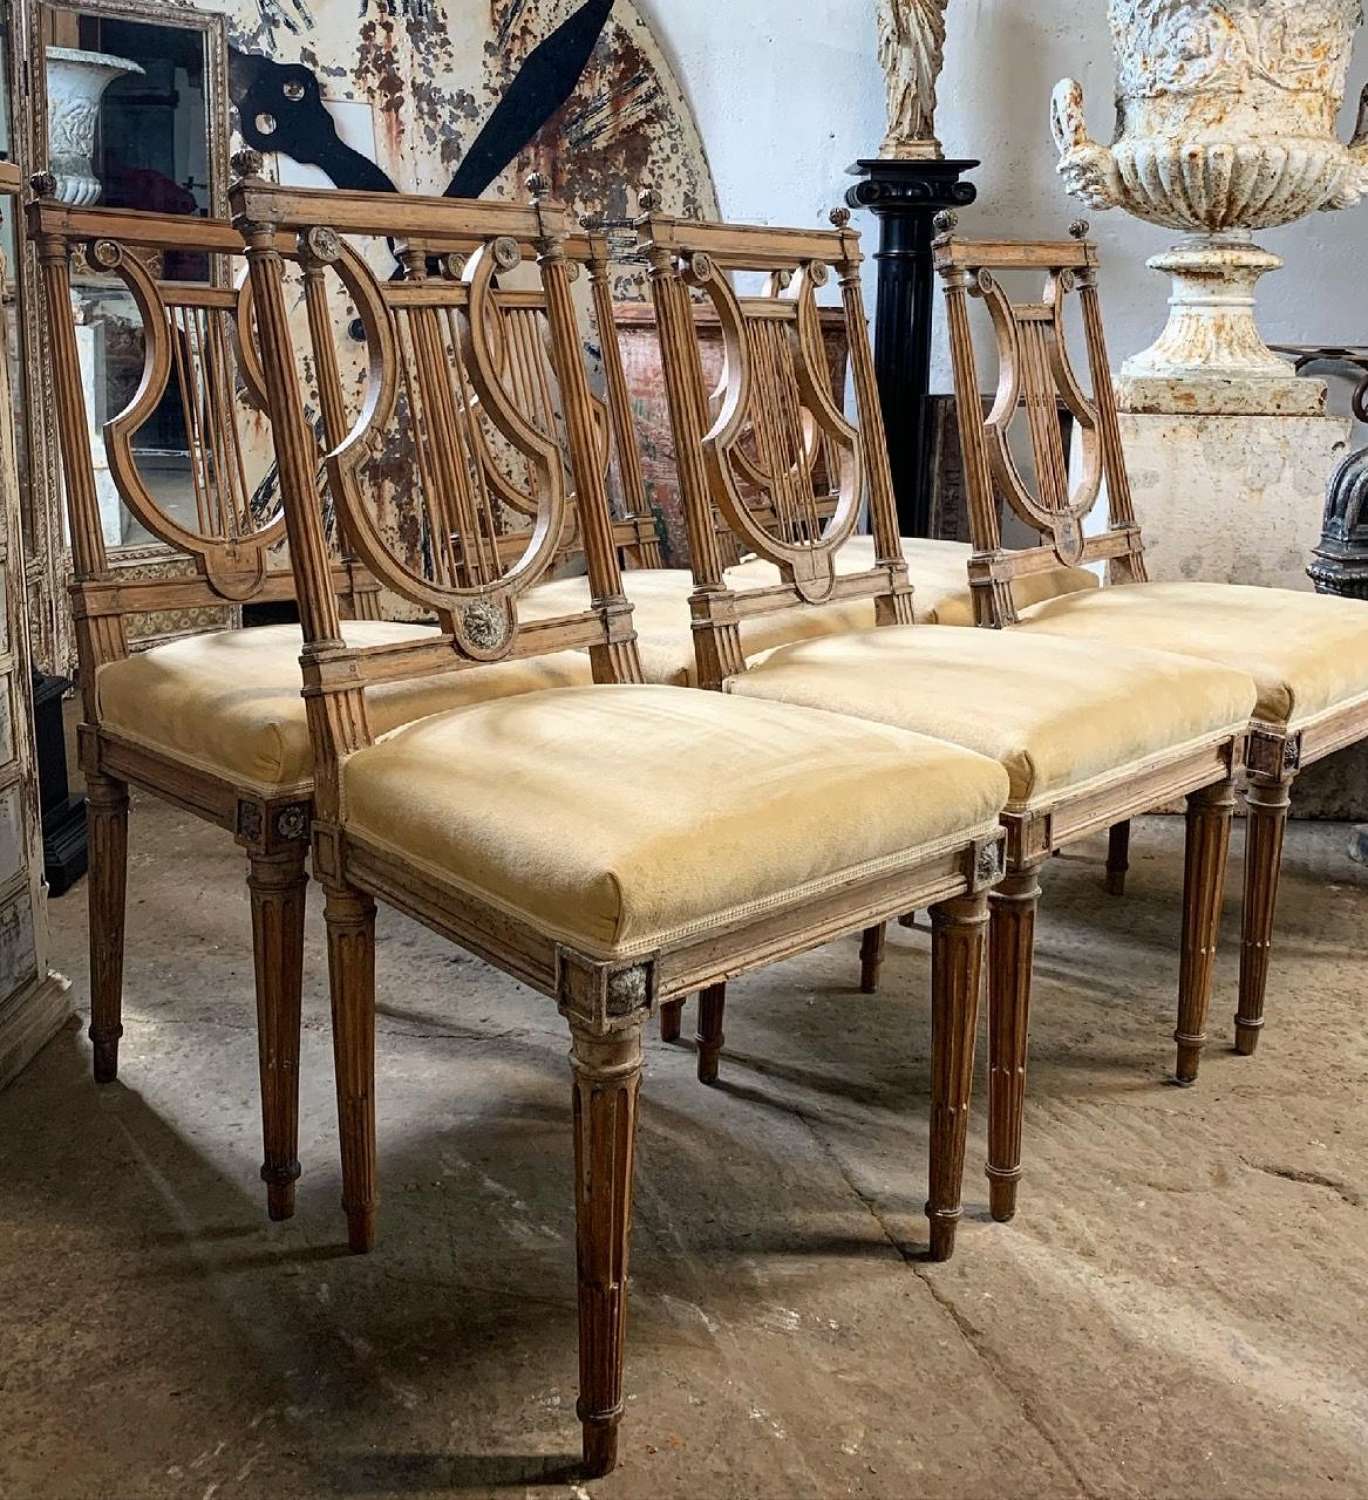
2) Frame as a lifestyle shot
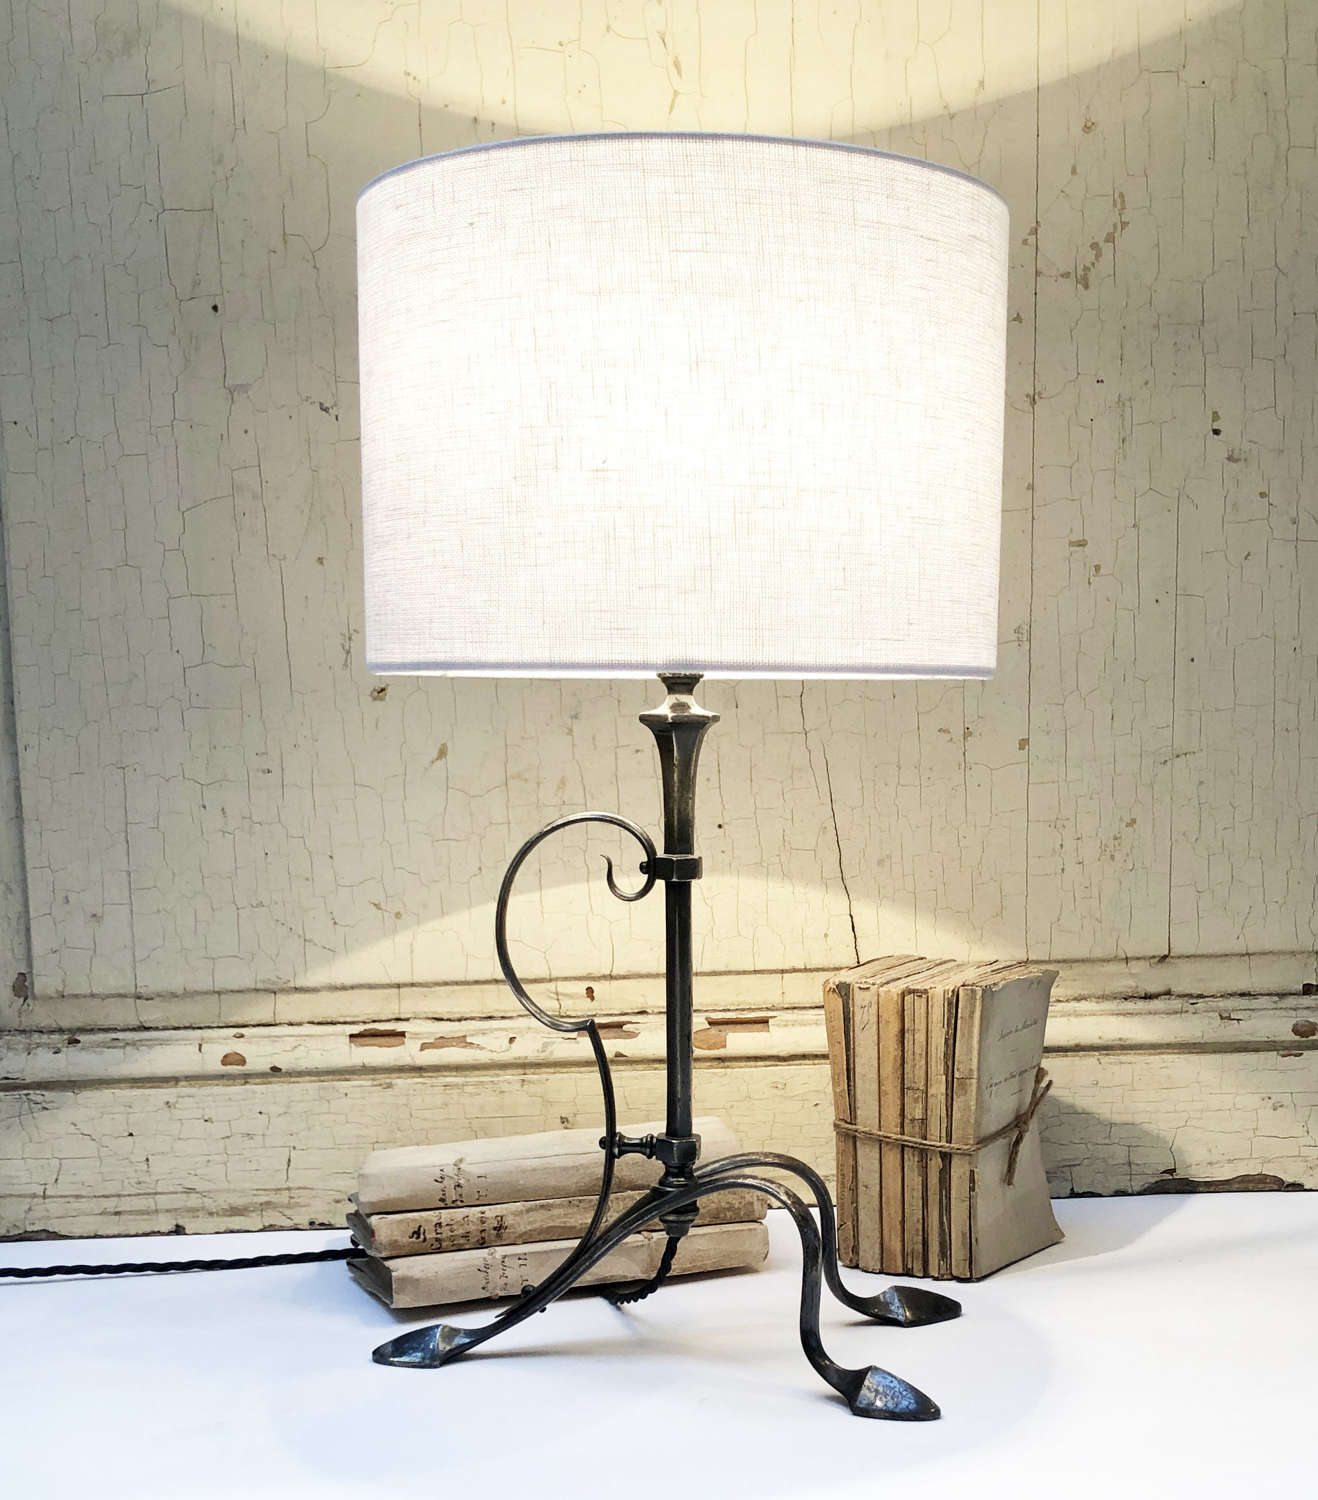
When selling antiques, art or vintage pieces you are NOT just selling the piece itself; you're selling an emotion, and a desire. Whether that be the emotion of happiness imagining entertaining your friends and family around a beautiful 18th century dining table, or the feeling of peace and calm imagining drinking a glass of wine and reading a book whilst being lit by an antique lamp like the beautiful one pictured above.
The point is that when selling antiques & art, we believe you'll be more successful if you go the extra mile and frame as a lifestyle shot to help invoke emotion and desire with visitors to your website.
Whilst not all dealers may agree and some prefer to use pictures with white-out backgrounds, we've found that some of our most successful dealers are those who create lifestyle shots.
Including companion items in a shot really helps create a setting, and also sometimes helps you sell those items too (what's known as "cross selling" or "upselling").
Credit: Appley Hoare Antiques (taken on iPhone 8 plus)
3) Use a room with good lighting
All a camera does is capture light and save that light to a file on your phone (or to physical film back in the old days!). If there is little to no light to capture then that is of course going to affect the quality of the photo.
Photos taken with low light also require the shutter in the camera to open for longer meaning a longer "exposure time". This means that if you're holding the phone in your hand there's a higher chance of the photo being blurry.
So make sure you use a room with good lighting, or consider using studio photography lighting.
Credit: Maite Conde. Taken with iPhone 13 Pro
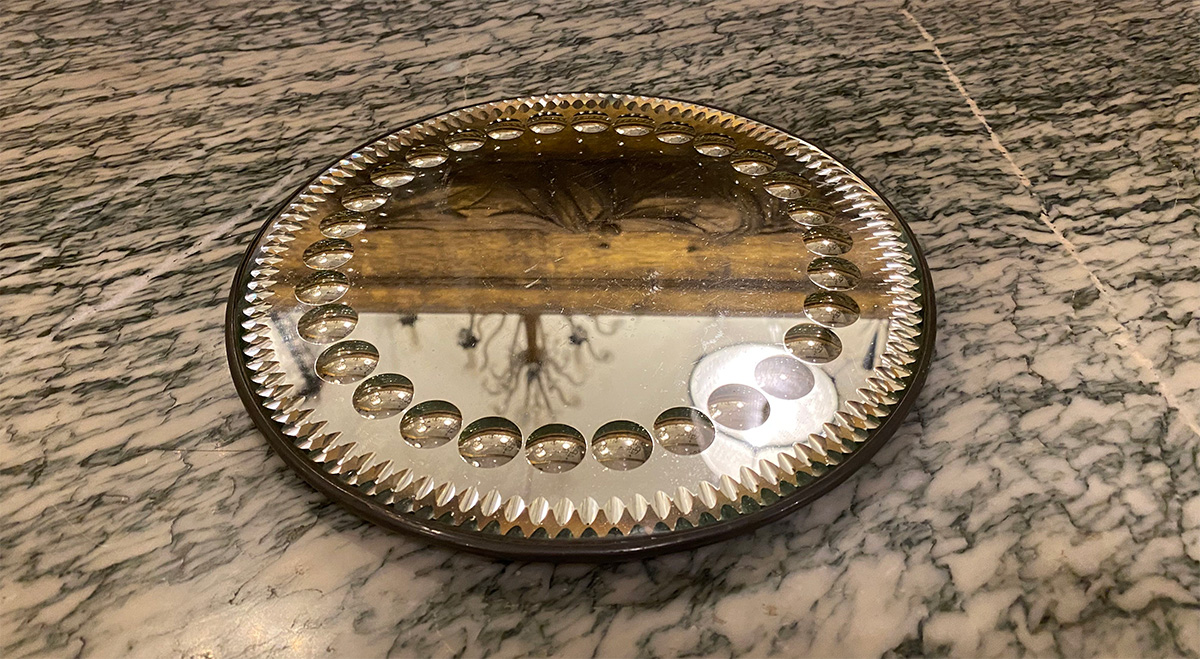
4) Capture details
It's really important to remember that if you want visitors to your website to buy items without being able to physically see them in person, you need to re-create the experience of seeing that item in person as best as you possibly can.
Make sure you capture detail shots to include with the other shots of each item so that the buyer can get a really good feel for the item. It may be the small details which they end up falling in love with and choosing to buy the item.
Antiques and vintage items often have imperfections due to their age so making sure you've captured as much detail as possible also helps with returns; in that the buyer is less likely to return an item if they're fully aware of all its imperfections before hand. This helps prevent your time being wasted.
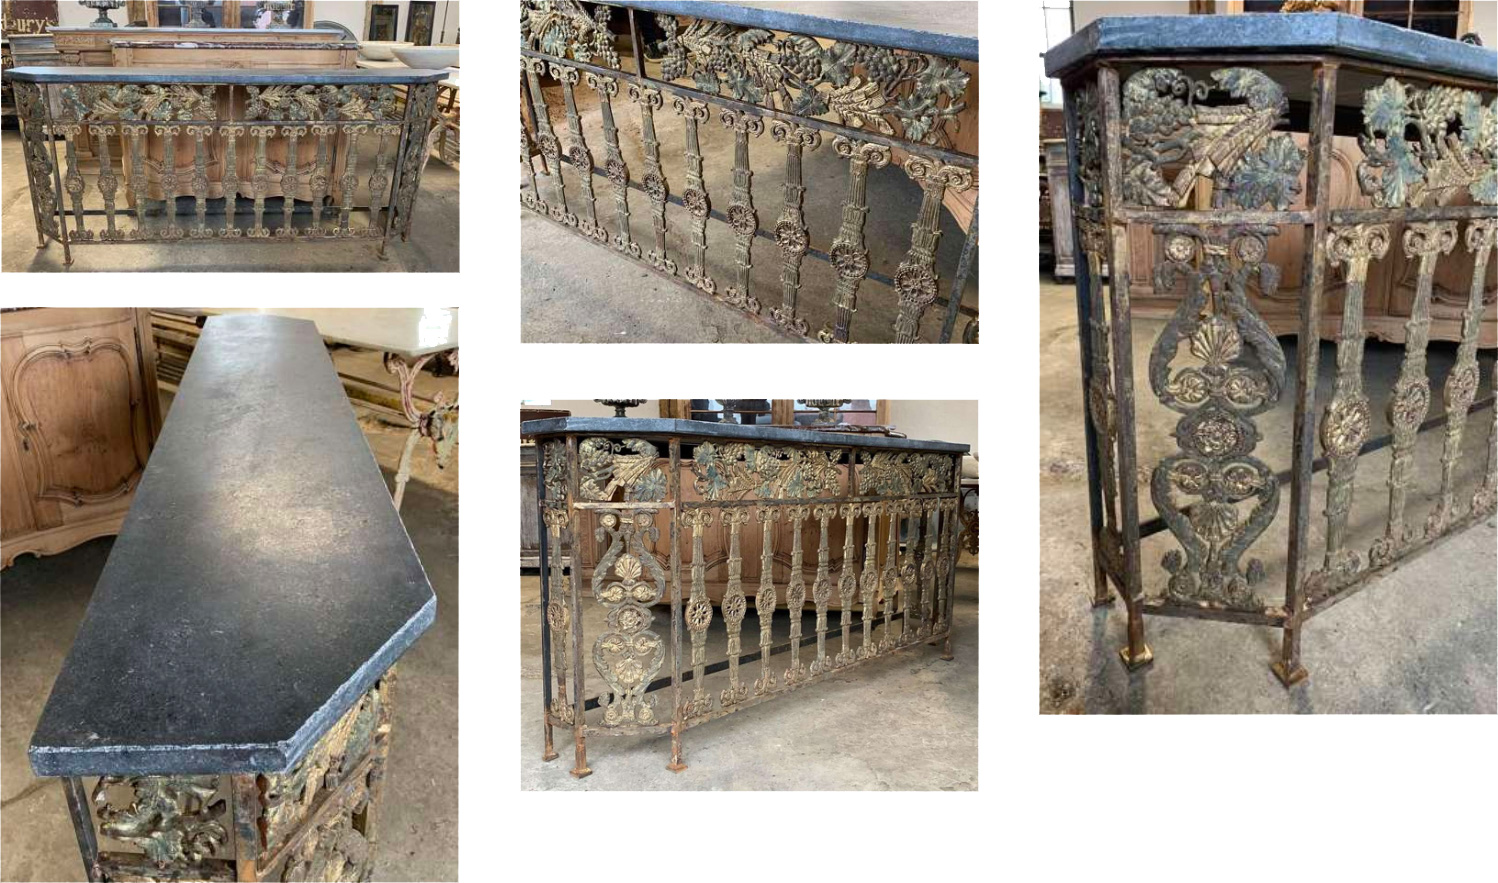
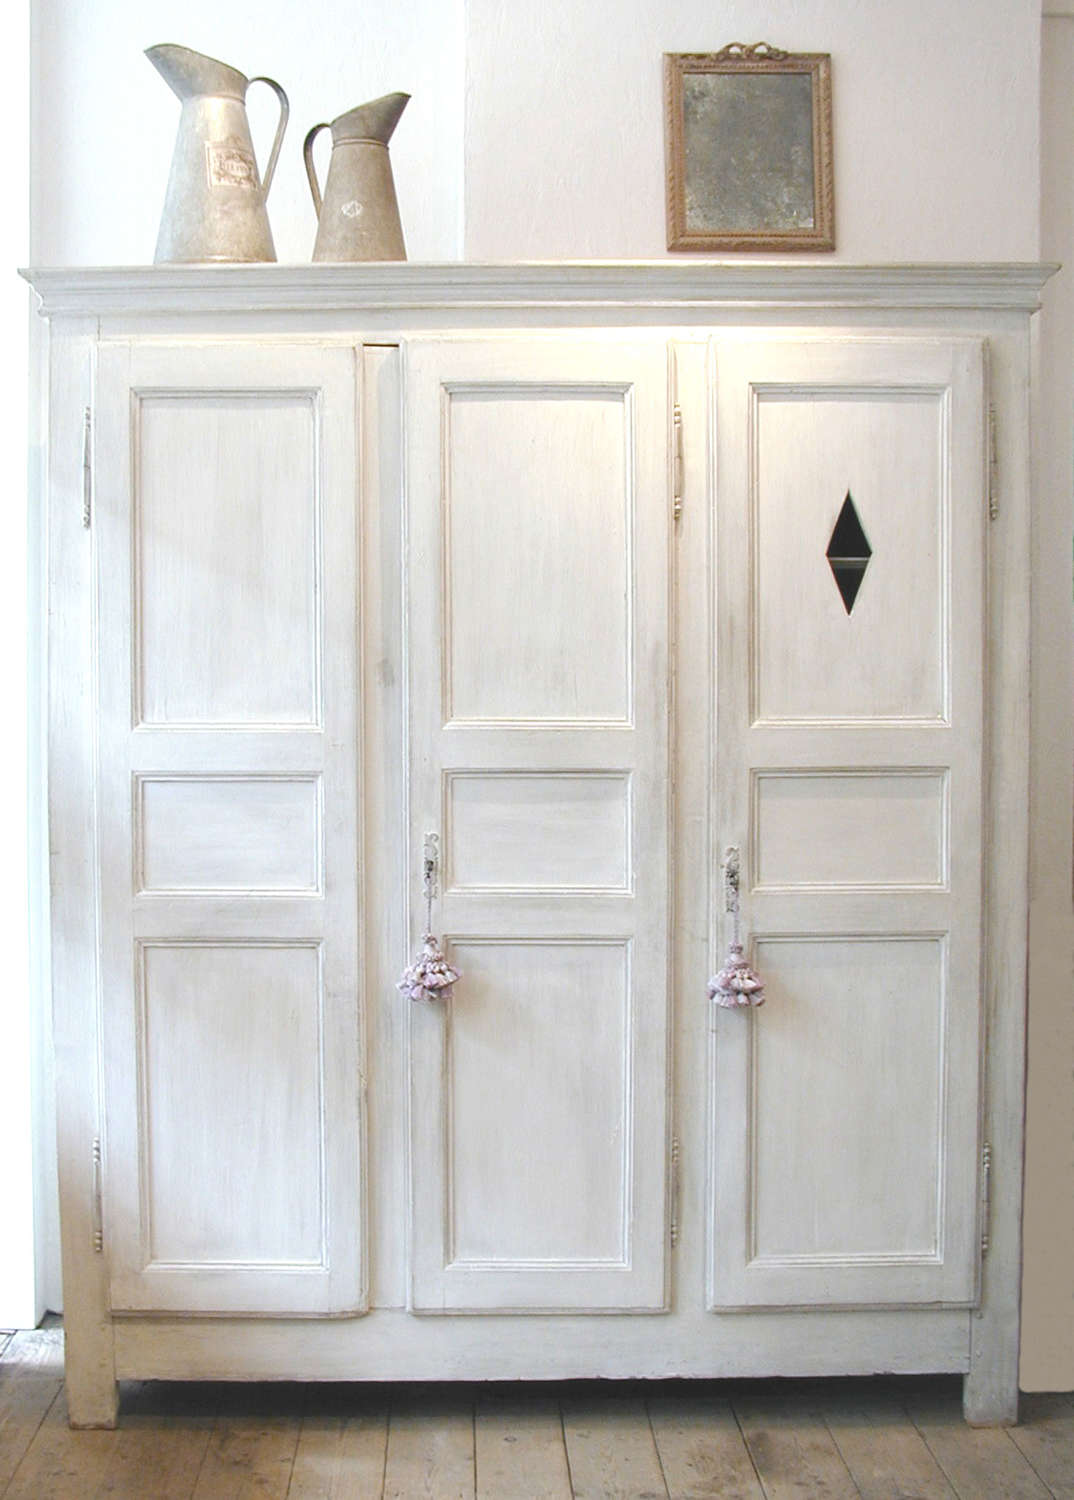
5) Shoot the product from every angle possible
Similar to our advice above about capturing details, if you look at websites we've designed such as the one for DS Decorative Periods (whose item is featured in the screenshot above) we encourage dealers to photograph an item from as many angles as possible so they can get a really good feel for the item. This is important because if your buyers are not able to physically see an item in person then it's important they can get as good a feel for the item as possible via your pictures and item descriptions.
When we see dealers only post one or two pictures of an item we can't help but cringe because it will almost definitely affect their sales!
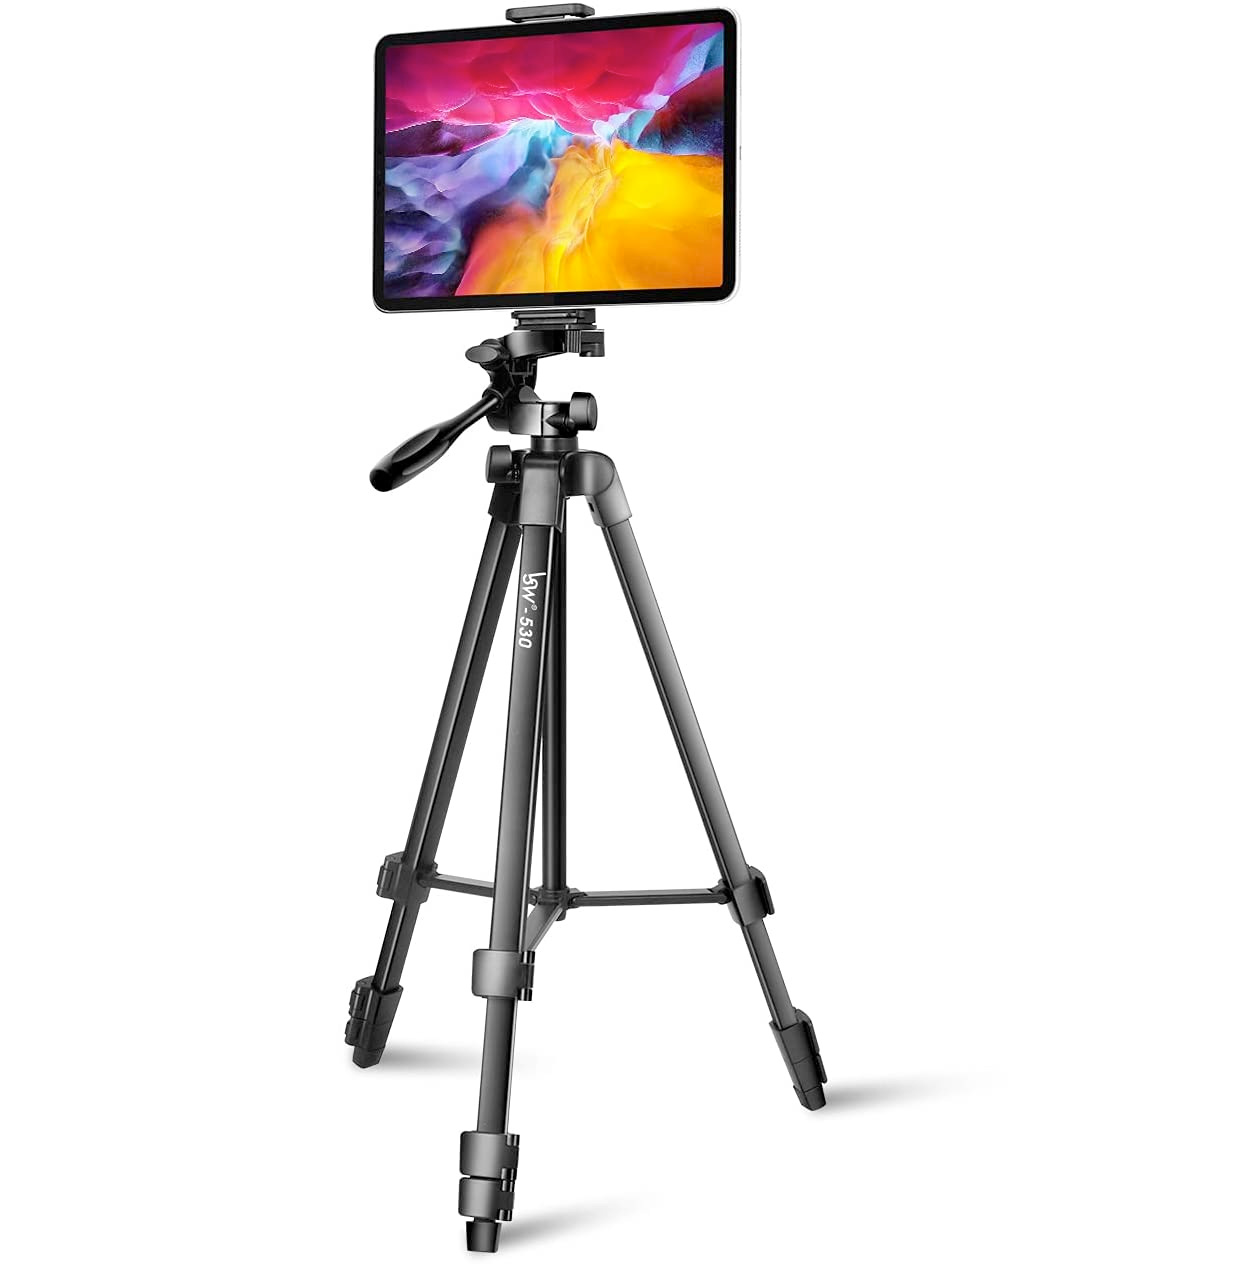
6) Get a tripod with an iPhone attachment
There are plenty of tripods which have a fitting specifically to hold an iPhone (or other smartphones) rather than a traditional SLR camera.
The advantage of using a tripod is helping keep the phone still in low light situations so that you don't get camera shake/blur showing through on your pictures.
The tripod above works with iPad and iPhones (as well as other smartphones) and we found it on Amazon.
Credit: Nick Jones London. Taken with an iPhone 11 Pro Max
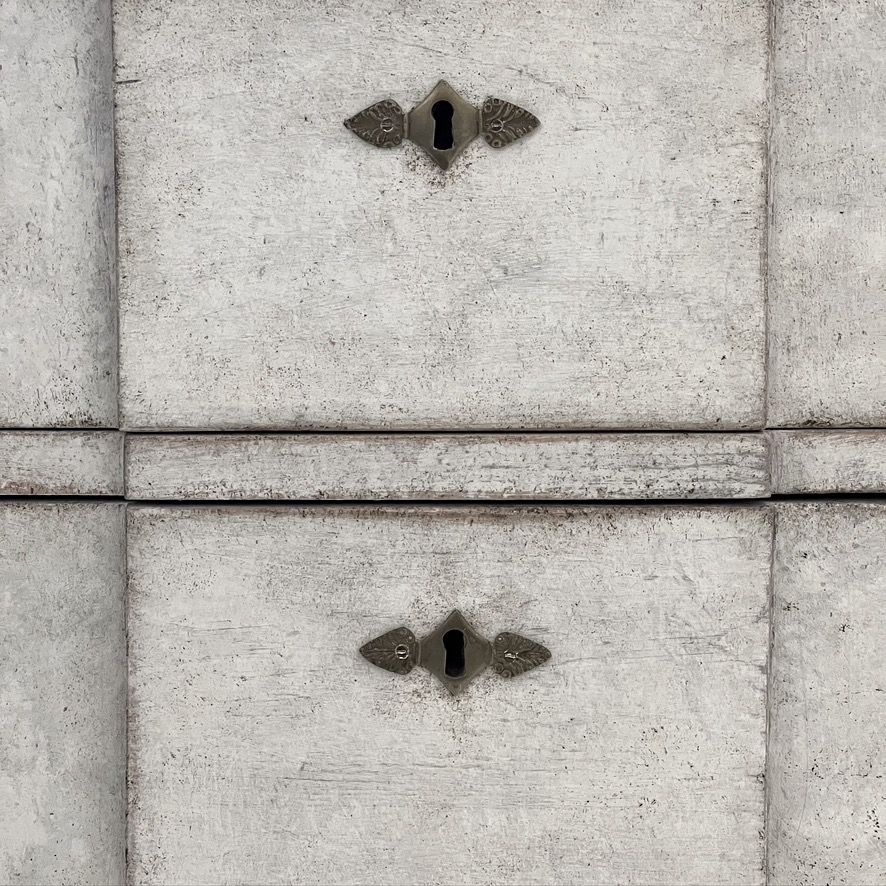
7) Hold down a spot on your viewfinder to lock focus
The iPhone has automatic focus and 9 times out of 10 will focus on the right part of your photo. However if you're photographing a shot with several items in it and want to focus on a particular item (eg the featured piece in the shot), or if you're doing a close up shot like the one above then you might need to tell your iPhone what specifically to focus on.
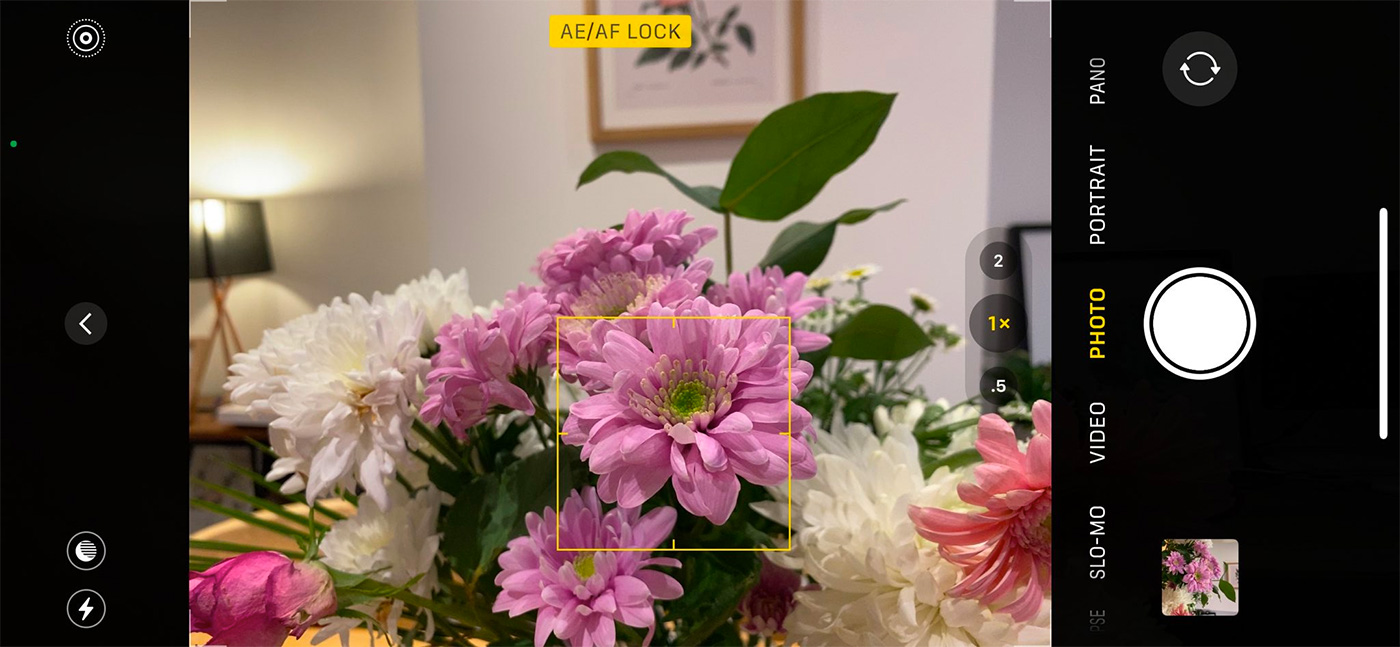
You can lock your focus by tapping and holding on the item you want to focus on until you see a yellow AE/AF Lock alert. This will lock the focus on that particular object.
(to remove the lock, just tap anywhere else on the screen)
8) Slide the exposure meter to brighten (or darken) images
"Exposure" is how much light the camera will let in when taking the photo. The longer the exposure time (or the more exposure) the lighter the shot will be.
If your shot is looking too bright or too dark then you can adjust it by using the yellow exposure slider next to the focus square.
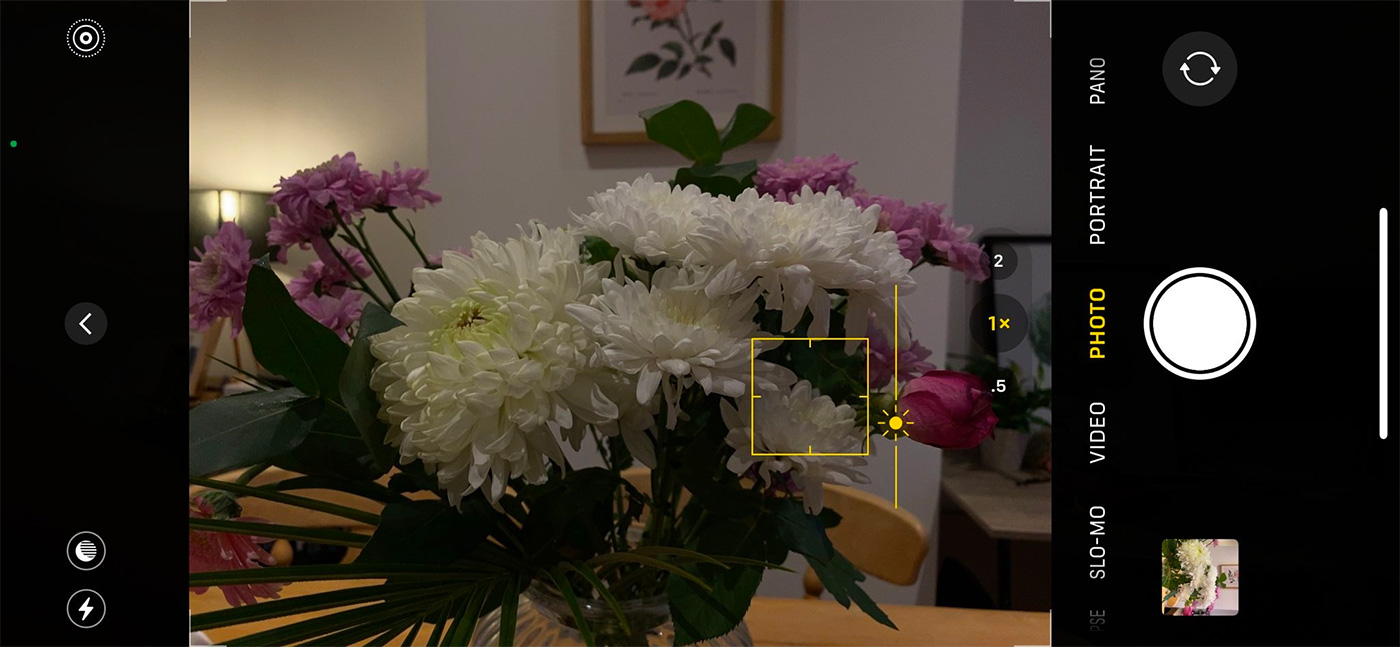
Slide upward to increase exposure (brighter).
Slide down to decrease exposure (darker).
More website photography tips
If you found the article useful, you may also want to read some of the other articles we've written on photography for your website...
Other website advice for antique, art & vintage dealers...
Also take a look at the rest of the articles in our blog or have a look at our web design portfolio.


